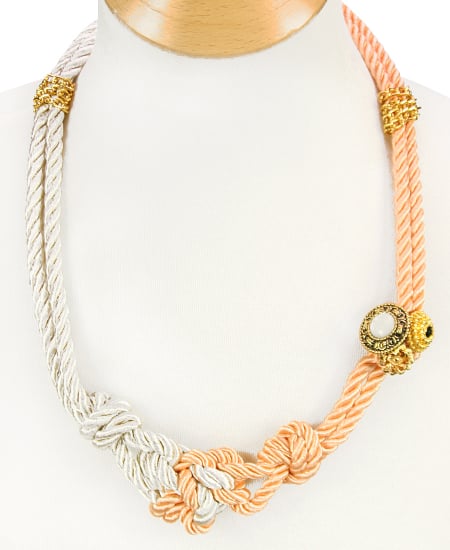
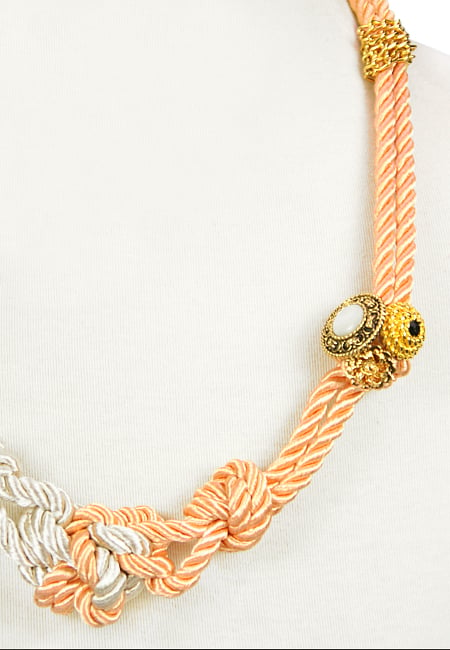
Taking after the style of one of my favorite jewelry designers, Lizzie Fortunato, is this DIY from M&J Trimming. Skills needed? Following directions and tying a knot, the latter of which I’m not too great at. Not to worry
Materials
-
1 ½ yards of 3/16” Rayon Twist Cord Style#00165 (Color Peach – Call 1.800.9.MJTRIM)
- 1 ½ yards of 5/16” Rayon Twist Cord Style# 00618 (Color ECRU)
- 1/2 yard of 4mm Metal Gold Chain Style#36941
- 1 Gold ButtonStyle# 88710019 (Call 1.9.MJTRIM for Exact Button)
- 1 Gold ButtonStyle#88710049 (Call 1.9.MJTRIM for Exact Button)
- 1 Gold ButtonStyle#88710009 (Call 1.9.MJTRIM for Exact Button)
Directions:
-
Step One: Important* Tape all the ends of the rayon cord, so they do not unravel.
-
Step Two: To make you starting point, take both rayon twist cords and loop them together. Then make a knot within the two cords.
-
Step two: From here on it’s really all about your imagination and the look you’re going for. You can leave the one knot the way it is or make knots on both sides of the middle knot, and loop different parts together, until you’re satisfied.
-
Step Three: Make one knot on each side about 1” away from the larger bigger knot.
-
Step Four: Now make one knot on one side about 2” or 3” inches away from the smaller knot. Then take your buttons and hot glue or sew each button on top of the knot.
-
Step Five: Now cut your chain in three even pieces and wrap two pieces on different ends of the necklace. (I sewed it into place, but you can also hot glue the chain)
-
Step Six: I made the necklace large enough to fit over my head, so I just hot glued both ends together and wrapped left over chain for finishing look. But you can add end caps to the end of the rayon rope and attach a lobster clasp.
Find the original posting from M&J here.


No comments:
Post a Comment